Table Of Content

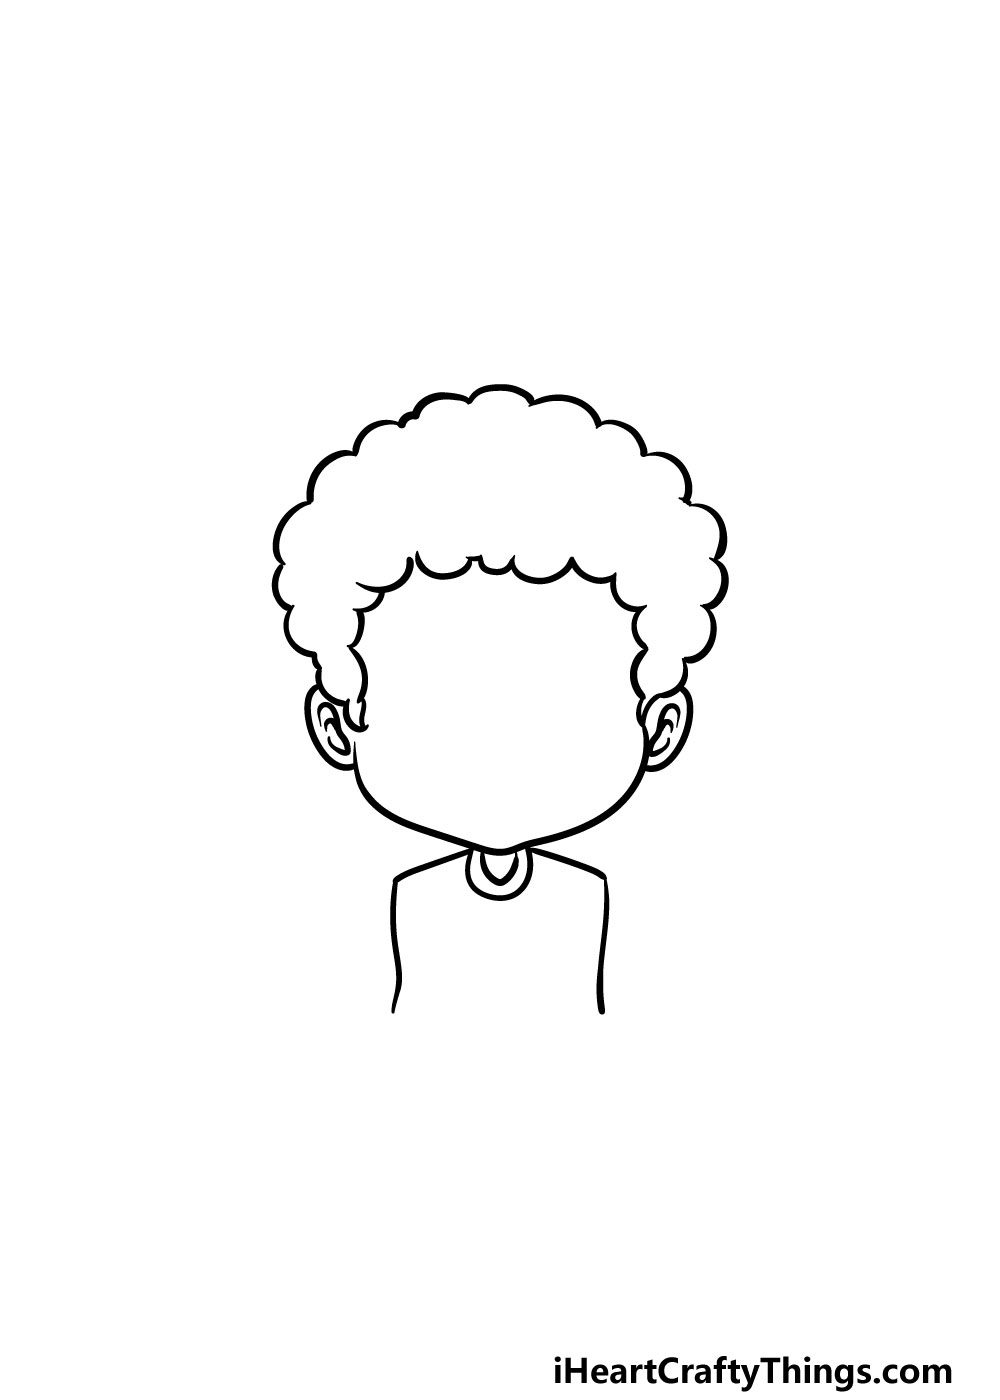
Divide this hairstyle into several curly locks of hair by drawing the same bouncy line as before as many times as needed. Move your pencil to the hair part and sketch bouncy, cloud-like patterns until you are just above the shoulders (or wherever you prefer). Starting a little above the hairline (or forehead), draw large petal-like shapes to create the bangs. Continue to fill in the hair with texture, adding more lines to the hairstyle to indicate volume. Drawing curly hair is really fun and absolutely great for building confidence when it comes to adding texture. When creating your first layer of pencil strokes, mix it up with a variety of different line weights.
Short hair base:
I hope you've enjoyed this tutorial on how to draw hair! Don't miss the downloadable hair drawing tutorial infographic below, as well as this tutorial on how to draw a realistic braid. Nowthat I have drawn the face, I have all the values to compare to that Icould ever need.
thoughts on “How to draw hair fast and easy for beginners: Step by Step”
Keep in mind that until the hair merges with other clumps of hair, it is often exposed to light. Given the number of shadows in these areas, our drawing strokes will be darker. Do not go too dark too soon, as it is easier to add dark tones than to remove them when drawing with pen. It’s a rather straightforward process to learn how to apply light and shade using a pen, but at times it could seem repetitive. An excellent idea is to take a break, relax for a bit, and then return to drawing with a renewed perspective.
Top Articles in Category
Use the 4 techniques below to make your drawings more interesting to the eye. Click here to learn how to draw one from the front and here to draw one from side. Draw the direction of the hair, creating the 3D form of the haircut. This will give the hair some detail and add depth to the whole haircut.
Create the final hair lineart on a seperate layer
Take your time and allow the drawing to develop gradually. Don't be afraid to work the values to increase the contrast. Adjust darker tones by adding additional applications of graphite and make areas lighter with your eraser. Below you'll see the finished portrait drawing from The Colored Pencil Course along with close ups of the marks used for stray hairs.
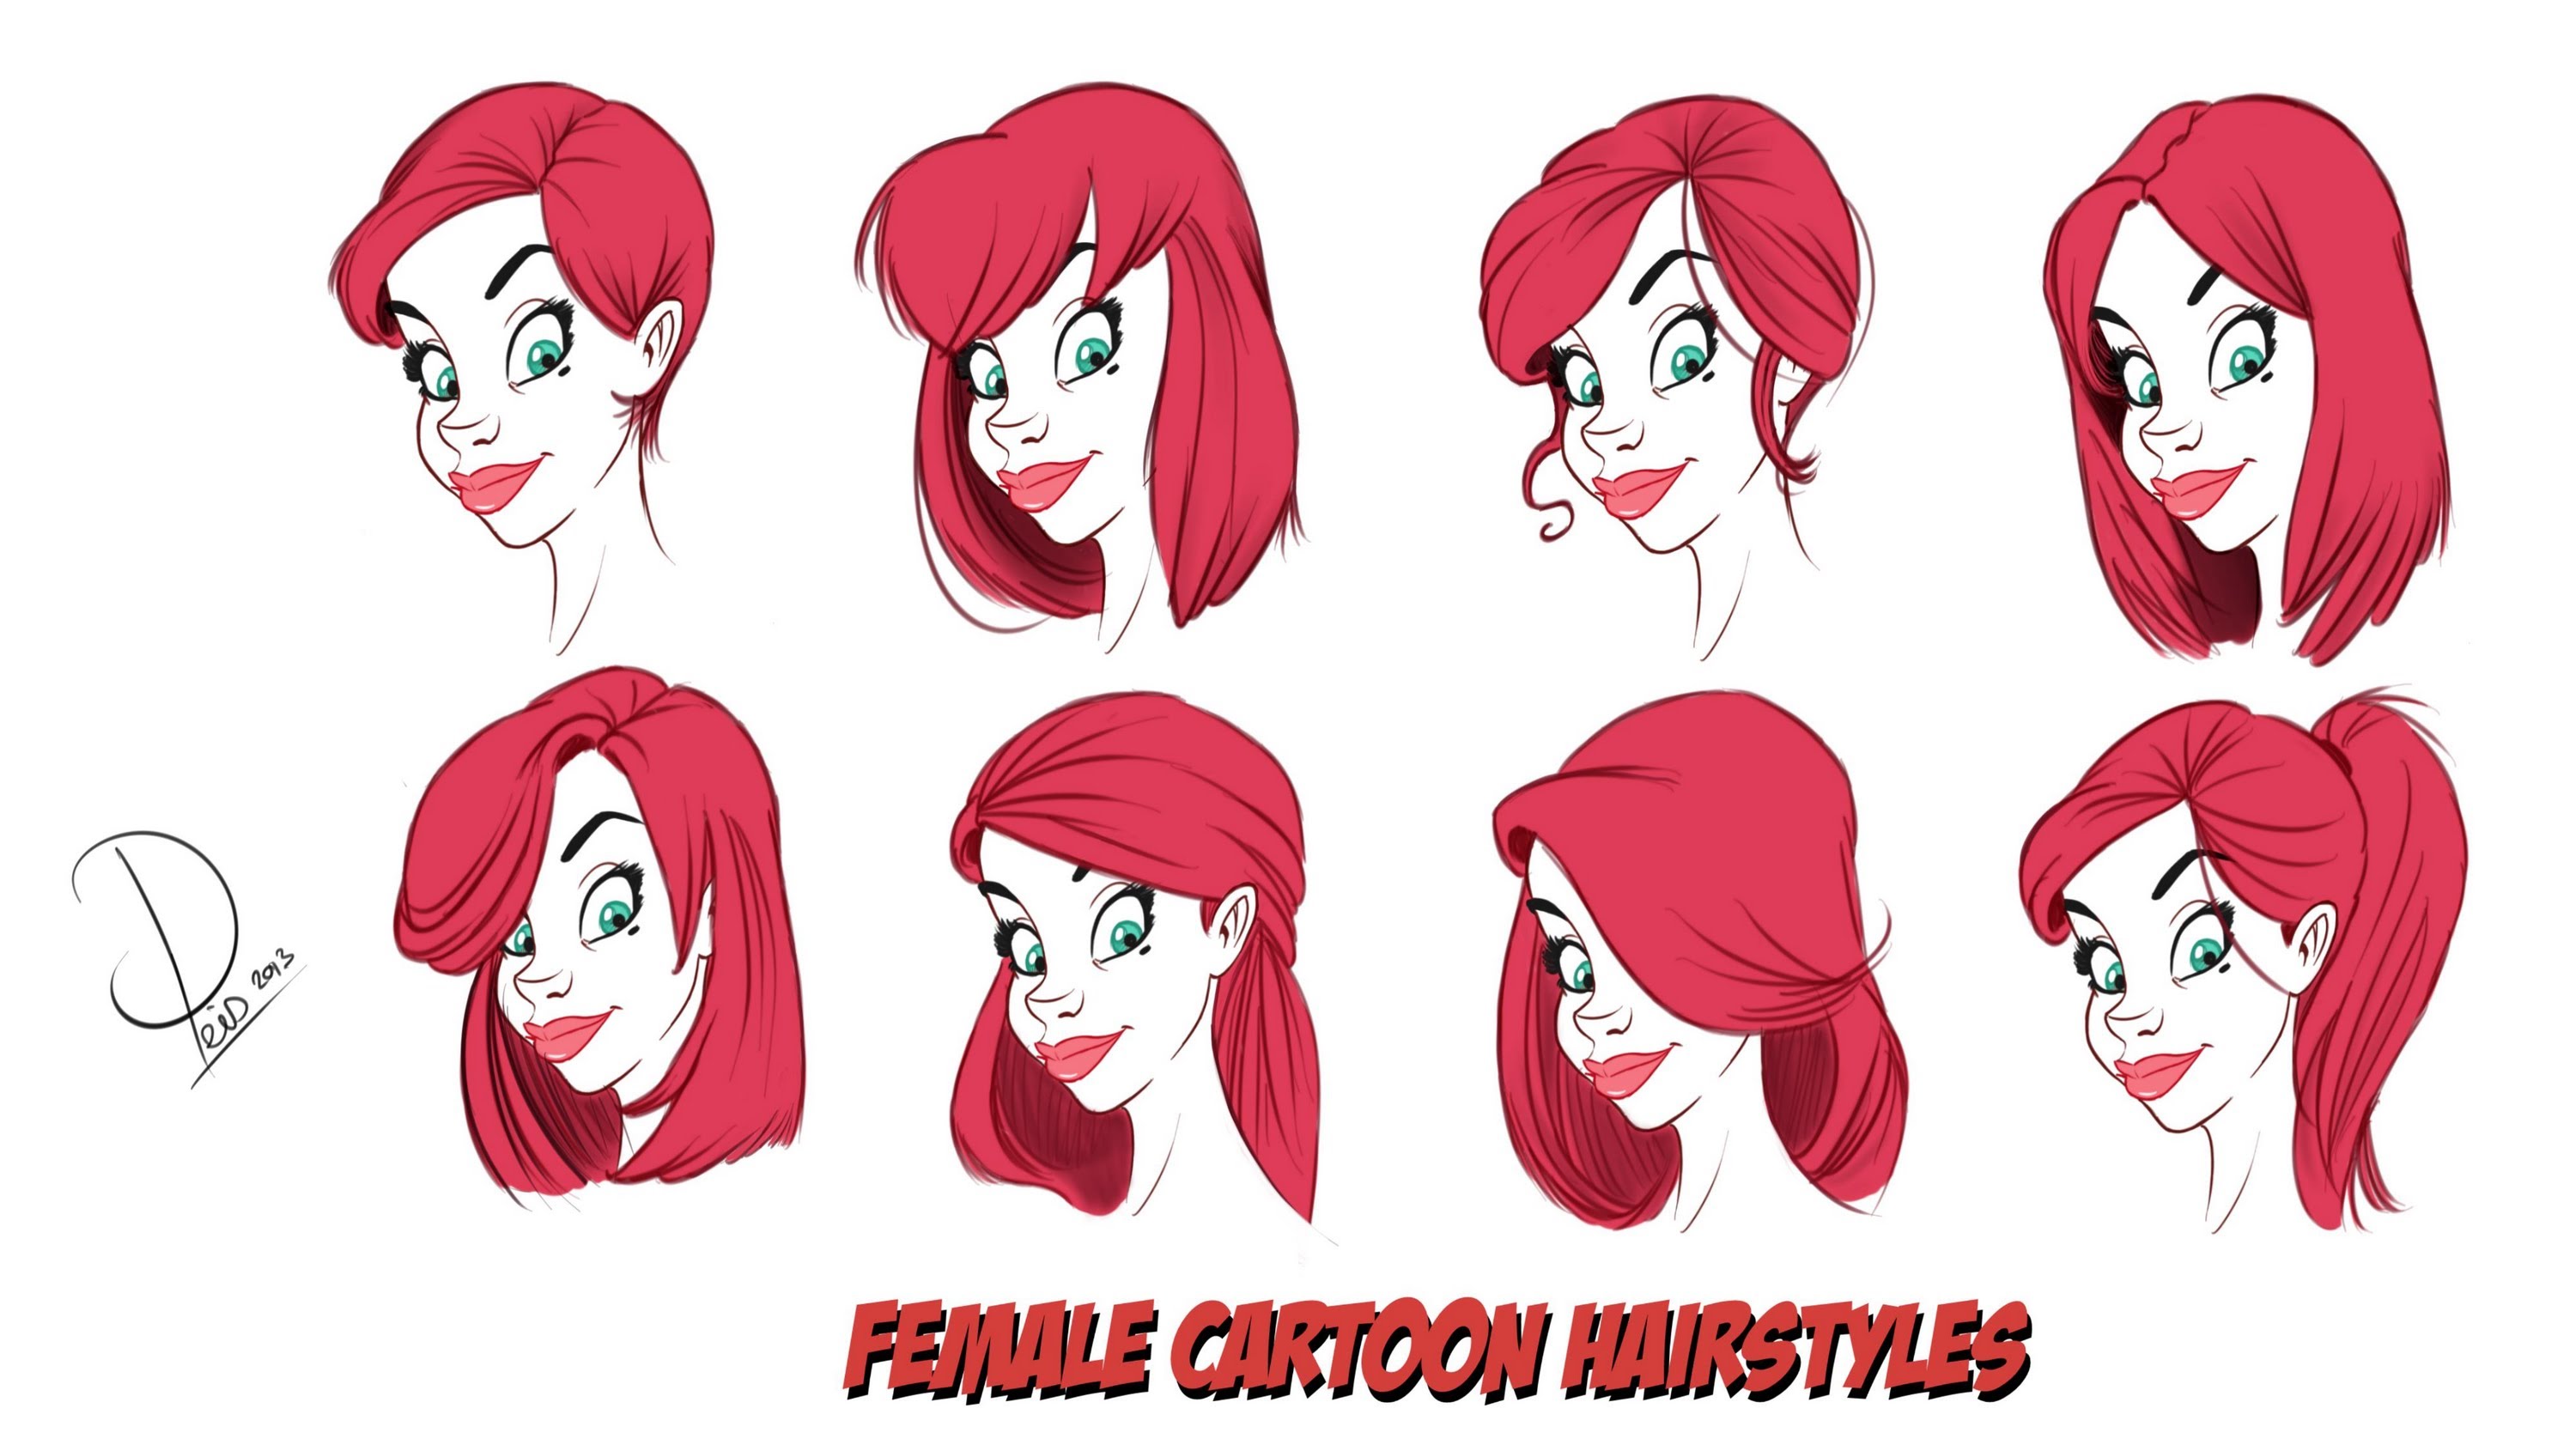
Step-by-Step Curly Styles
I also recomment to watch the video (scroll to the beginning of the post) to see the full process. It is a good thing to do because you memorize and understand it better when watching a video. The pen should be pressed more firmly during this motion.
16 Wild Ideas for Wacky Hair Day - CafeMom
16 Wild Ideas for Wacky Hair Day.
Posted: Mon, 16 Mar 2015 07:00:00 GMT [source]
I also put in some irregularities around the edges to match the surface (B). • Hair does not form a compacted shape, nor a consistent one. It is very light, so when the character moves, the wind, the humidity, or anything that surrounds it can affect its silhouette. Hair locks must somehow wrap the head following the curves of its surface.
• The little strands on Step 3 follow a very similar direction, but slightly more pronounced, enough to add dynamism to the shape of the hair clump. I might change my mind later on, but this stage allows me to see my hair ideas more clearly. As my drawing advances, I ponder some possibilities for drawing the hair. This character will have straight hair, cut just over the shoulders. I think no bangs would be better, but I want some hair to cover one eye, and the tips of the hair to curl inwards.
Step 16
The main goal of this step is to apply an initial layer of shading that will define the light, medium and dark areas of the hair. Gradually add in the smaller folds and clumps of the hair to better define it’s shape. You can erase parts of the outline from the previous step where needed. Afterward, it is time to fill in the hair with more texture, so add long and short lines throughout the hairstyle. If you’re having difficulties drawing long hair because your pencil strokes are too short or choppy, try holding your pencil further away from the tip. This will give you more range of motion, producing longer, smoother strokes.
I use a mixture of dull and sharpened pencils as well as mechanical pencils. As you are creating each stroke, remember to press and then lift as you approach the area you want to highlight. Work your strokes inwards so they fade in the middle of the lock. Work on one part of the hair at a time, while following the general direction in which the strands flow. In dark areas, don’t be afraid to press hard (I used a 6B to 8B for these areas). To bring out highlights, flatten your kneaded eraser and swipe it in the desired direction.
Of course, every head of hair is different and the contours that are drawn at this stage will be different for every subject. Asyou can see, I tend to move around the face as I render. Toreach both of these goals, drawing every hair or curl that I see doesnot have to be a priority. Instead, part of my challenge will be tofigure out how to design what I see.
This sketch page shows you three different hairstyles and gives step-by-step visuals on achieving each look easily. With these different hairstyles, you can create the personality of your manga character. The hair can play a big part in making them appear shy, cute, confident, and more. Be patient and understand that drawing hair is slow process.
Both a pencil and a pen can be used in this lesson on hairstyle drawing. We want to keep this concept in mind as we work through this lesson on how to draw realistic hair from beginning to end. Always bear in mind that the goal of drawing hair is to resemble the true quality of hair. A collection of lines that might be wavy, curly, straight, etc. are what comes to mind when we think of hair. We draw these by gradually adding deeper tones and shadows.


No comments:
Post a Comment